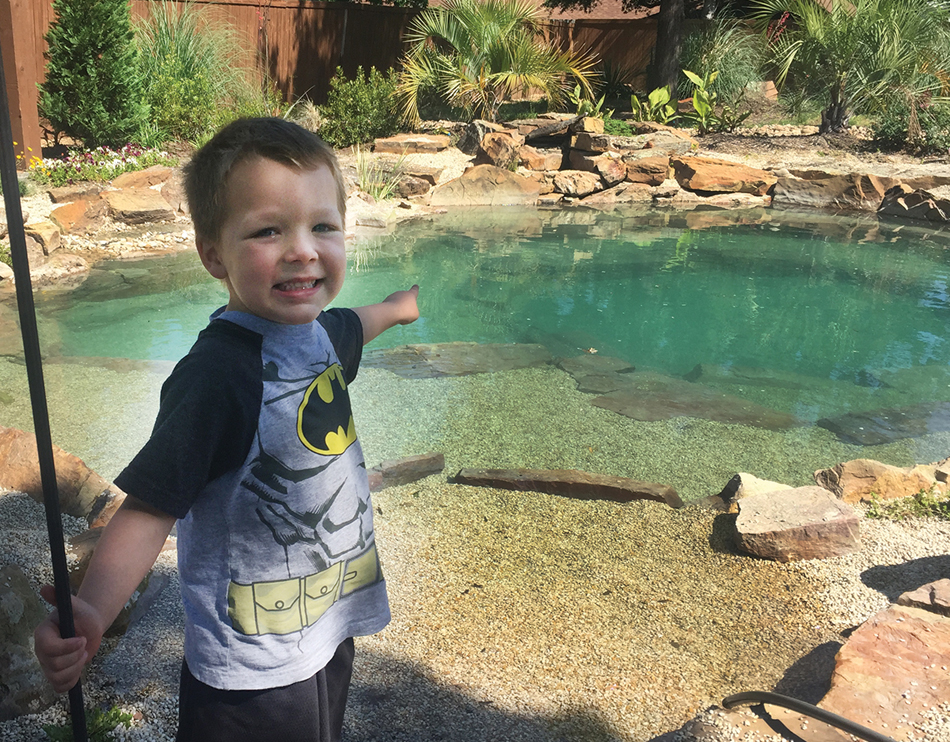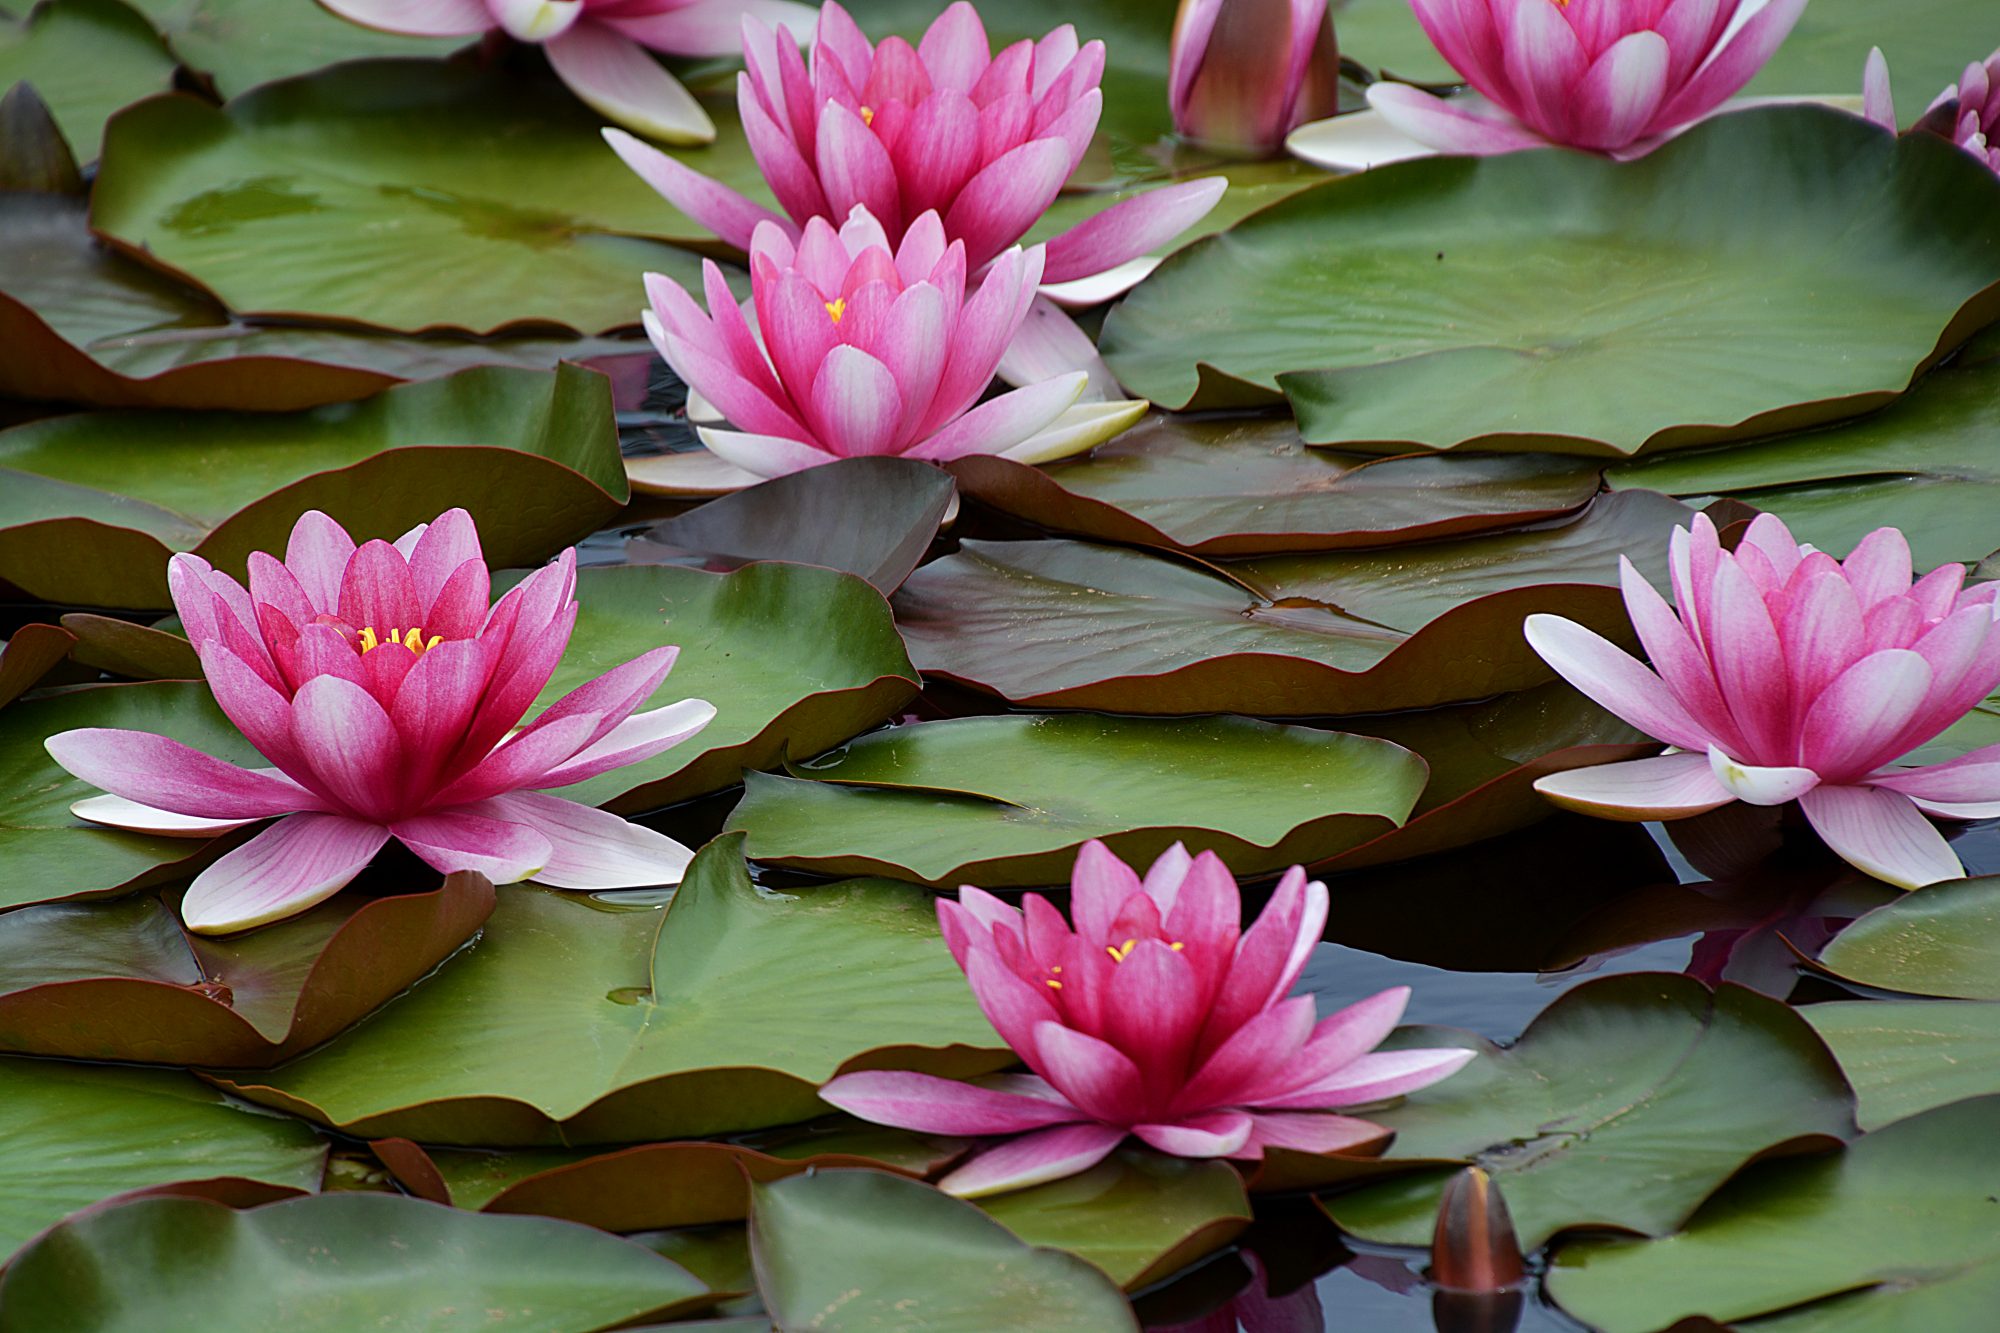
Pond enthusiasts everywhere can agree on one thing: water lilies are the jewels of the pond. With a few water lilies floating on your pond’s surface, your yard will instantly look more magical. Known scientifically as Nymphaea, these aquatic plants are not only beautiful to look at, but they also serve an important purpose in the pond ecosystem.
The Wonders of Water Lilies
They help to keep algae growth and water temperatures down by blocking out a lot of direct sunlight with their floating leaves. These leaves also provide shelter and hiding spaces for fish and water creatures alike. Water lilies can also help keep your pond clean and clear since they absorb nutrients from the water that would typically go towards feeding undesirable algae.
Water lilies are a good choice for beginners as they are dependable and easy to plant. The flowers blossom from spring to fall and go dormant in the winter. If you’d love to try growing water lilies but don’t have your own pond (yet!), well good news–water lilies can also thrive in decorative aquatic planters which you can display anywhere in your yard.
Planting Instructions
The planting steps are the same whether you are planting in an aquatic container or directly into a pond. You must first properly plant the rhizome–the water lily “seed”–in an aquatic planter roughly 14” x 7” in size. We recommend using a fabric or burlap planter as they are flexible and porous. Look for options with rope handles to assist with lowering the plant into your pond or container.
Once you have your planter, pour in a generous amount of proper aquatic potting media. This type of soil is heavier than fluffy potting soil which would float out of the container once submerged. Clean up the rhizome before adding it to the soil by removing old leaves and thick, fleshy roots. This will allow the water lily to focus its energy on growing new roots, stems, and blooms.
Make sure to place the rhizome at a 45º angle towards the center of the planter when adding it into the soil. The cut end should be placed at the edge of the pot and deeper into the soil. The growing tip should be exposed above the soil about three quarters of an inch.
To help keep the soil from escaping the planter once submerged, add a layer of gravel or small pebbles on top, about half an inch thick. Use a darker colored gravel if you don’t want the planter to be visible from above the water.
With the gravel in place, you can now lower the aquatic planter into either your decorative container or pond. If using a decorative container, it should be filled with water before you begin lowering the planter. It is important that you lower the planter at an angle to allow air to escape. Set the base of the planter 12”-18” deep under the water’s surface. If you are placing the planter into a pond that is deeper than 18”, utilize a planting ledge or rock support to keep the planter at the correct depth.
Final Notes
Congratulations! You are now on your way to growing your very own water lilies. These aquatic plants have a ferocious appetite and will perform best if well fed, so be sure to fertilize them! You can place aquatic fertilizer pellets directly into the soil.
Water lilies will also thrive in an area that receives at least 8-10 hours of direct sun per day. If your garden does not receive this amount of sun, consider growing a shade-tolerant water lily variety. They can tolerate as little as 4 hours.
If you are new to water lilies or have limited space, start with container growing only. Water lilies will grow to be the size of the container they are in. It may become overwhelming to manage an entire pond of water lilies if you are new to the practice. Contact us to build a beauty pond to place all those flowers!